Register equipment and its components
You must install the PrevaSync network card on to the console first and then add the facility's network to the PrevaSync App. After install, you will register the card, console, and equipment base to create one piece of equipment using the PrevaSync app. Once networked, the equipment will send status data to the Preva Business Suite.
To do this, complete these steps:
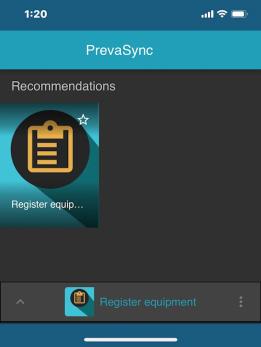
- Log on to the PrevaSync app. The home page appears.
- Touch the Register Equipment tile. A list of all locations accessible to the service technician appears.
- Select the location. A list of networked equipment appears. If no equipment appears, it means there is no networked equipment at that location.
- To add equipment, tap + and the QR Code Scanner appears.
- Scan the code on the PrevaSync card. The equipment serial number auto populates. If the scanner does not read the code, tap the Keyboard icon to type in the details on the label.

|
If an equipment is already registered, the following message appears: Already registered. |
- Touch + Add component. The scanner appears. Scan and add the console QR Code. For P31 consoles, if the serial number/code is not visible, it may be located on the bottom of the mounting plate. Click here for instructions to locate the serial number.
- Touch + Add component to scan and add the lower equipment QR Code. Once all three components of the equipment are added, provide a Friendly Name for the equipment and tap Save.

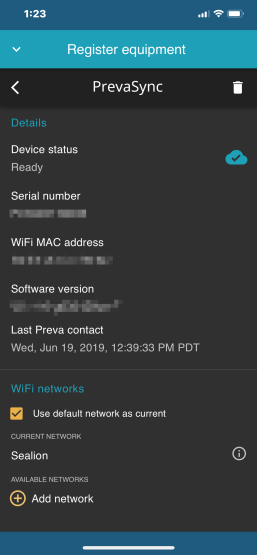
- Touch the Connector icon to view Device Status, Serial Number, WiFi MAC Address, Software version, and Last Preva Contact.
- Power up the machine. The status LEDs will appear on the PrevaSync card, followed by status icons on the PrevaSync App.
|
|
The |
 icon appears next to networked equipment when it successfully connects to the cloud.